Crème Brûlée Cookies Recipe: Caramelized Sugar, Bakery-Style
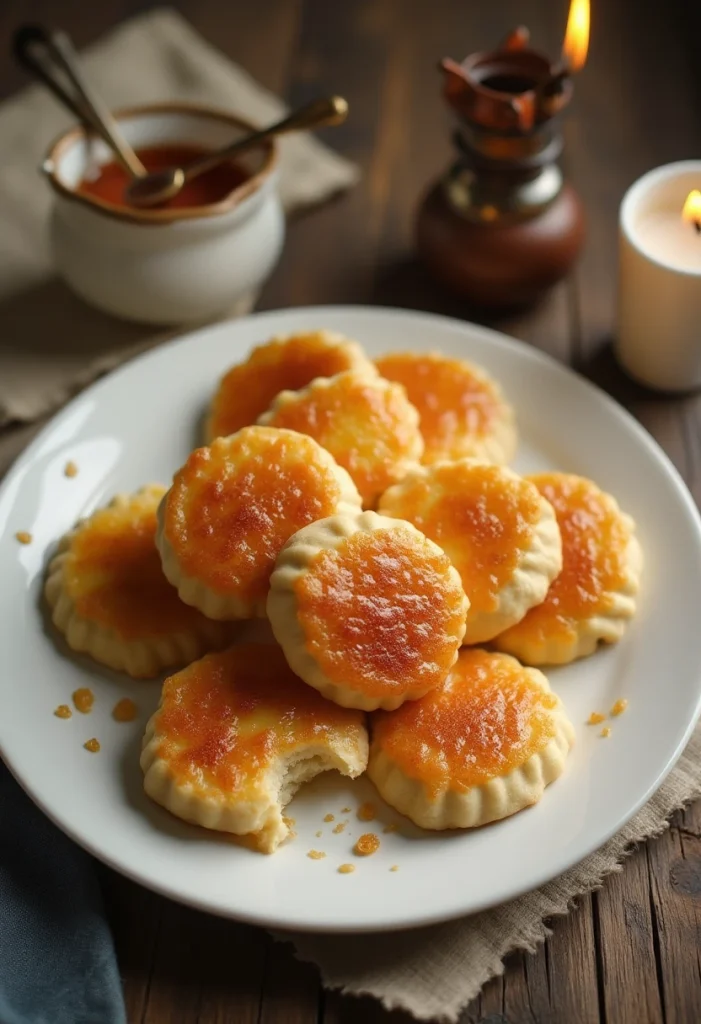
Imagine everything you love about crème brûlée—the silky vanilla custard, the glassy caramel shell that shatters under your spoon—reimagined as a hand-held cookie. Crème Brûlée Cookies deliver the same elegance with a cozy, shareable twist. They combine a tender sugar-cookie base with a lush vanilla bean pastry cream and a crackly caramelized sugar top you’ll actually hear when you take a bite.
This recipe walks you through the entire process with plenty of friendly tips to help you nail it on your first try. Expect a cookie that tastes bakery-worthy but feels completely doable at home. Whether you’re baking for a celebration or just treating yourself, these cookies turn simple ingredients into something special.
These cookies deliver contrast in every bite: soft, buttery cookie; cool, creamy vanilla custard; and a brittle brûléed top that cracks like thin glass. The flavor is all vanilla bean and caramel, subtly sweet and deeply comforting. They look impressive, but the steps are straightforward and easy to follow.
The best part: you can make the components ahead, assemble when you’re ready, and brûlée just before serving for maximum crunch and drama.
For the vanilla bean custard topping
- Whole milk (1 cup / 240 ml) — Adds body and balance without too much heaviness.
- Heavy cream (1 cup / 240 ml) — For that luxurious crème brûlée richness.
- Vanilla bean paste (1 tablespoon) or 1 vanilla bean, split and scraped — The hallmark specks and deep vanilla flavor.
- Egg yolks (4 large) — Provide richness and help set the custard.
- Granulated sugar (1/3 cup / 67 g) — Sweetens the custard.
- Cornstarch (3 tablespoons / 24 g) — Stabilizes the pastry cream so it sits neatly on the cookie.
- Fine salt (a pinch) — Enhances the vanilla and balances sweetness.
- Unsalted butter (2 tablespoons / 28 g), room temperature — Whisked in at the end for a silky finish.
- Unsalted butter (3/4 cup / 170 g), softened — Creates a tender, rich cookie crumb.
- Granulated sugar (3/4 cup / 150 g) — Sweetness and crisp edges.
- Light brown sugar (1/4 cup / 50 g) — Adds moisture and a hint of caramel depth.
- Large egg (1) — Binds the dough and adds structure.
- Egg yolk (1) — Extra richness for a soft, chewy center.
- Pure vanilla extract (2 teaspoons) — Complements the custard with warm vanilla notes.
- All-purpose flour (2 1/4 cups / 280 g) — The base for structure and shape.
- Baking powder (1 teaspoon) — Lifts the cookies slightly for a soft bite.
- Baking soda (1/2 teaspoon) — Encourages spread and tenderness.
- Fine salt (1/2 teaspoon) — Rounds the sweetness and enhances flavor.
For the brûlée finish
- Superfine (caster) sugar (about 1/3 cup / 67 g) — Melts quickly and evenly for a smooth, glassy shell.
- Optional: Turbinado sugar (2 tablespoons) — Mix in a little for a punchier, caramel-like crunch.
- Optional garnish: Flaky sea salt or fresh berries — A tiny sprinkle or a pop of color for serving.
How to Make Them: A Step-by-Step Guide
- Start the custard. In a medium saucepan, combine the milk, cream, and vanilla bean paste (or scraped seeds and pod). Warm over medium heat until steaming and just beginning to bubble at the edges. Remove from heat and let sit 5 minutes to infuse. If you used a vanilla pod, remove it now.
- Whisk the yolks. In a separate bowl, whisk egg yolks, granulated sugar, cornstarch, and a pinch of salt until smooth and slightly lighter in color. The mixture should be thick and glossy.
- Temper and thicken. Slowly pour about half the warm dairy into the yolk mixture, whisking constantly. Return everything to the saucepan and cook over medium heat, whisking steadily, until thick bubbles plop and the custard holds visible trails, 3–5 minutes. Let it bubble for 20–30 seconds to fully activate the cornstarch.
- Finish and chill. Remove from heat and whisk in the butter until silky. Strain through a fine-mesh sieve into a shallow dish to catch any bits. Press plastic wrap directly onto the surface to prevent a skin. Refrigerate until cold and firm, at least 2 hours. Cold custard is key for clean assembly and a stable brûlée.
- Make the cookie dough. In a large bowl, beat the softened butter with granulated and brown sugars until light and fluffy, 2–3 minutes. Add the egg, egg yolk, and vanilla; beat until smooth and emulsified.
- Combine dry ingredients. In a separate bowl, whisk flour, baking powder, baking soda, and salt. Add to the butter mixture and mix on low just until no dry spots remain. The dough should be soft but not sticky. Do not overmix or the cookies may toughen.
- Chill briefly. Cover and refrigerate the dough for 30–45 minutes to help the cookies hold their shape. Meanwhile, line baking sheets with parchment and preheat the oven to 350°F (175°C).
- Shape the cookies. Scoop 2-tablespoon portions (about 40–45 g) and roll into balls. Arrange on baking sheets, leaving space to spread (8 per sheet). Use your thumb or the back of a measuring spoon to make a shallow well in the center of each ball.
- Bake. Bake for 10–12 minutes, until the edges are set and lightly golden and the centers look slightly underdone. If the wells puff, remove the tray and gently press the centers again with a spoon while the cookies are hot. Cool completely on the sheet.
- Fill with custard. Give the chilled pastry cream a brief whisk to loosen. Spoon or pipe a rounded tablespoon of custard into each cookie well, smoothing the top. Refrigerate the filled cookies for 15–20 minutes. Chilling helps the sugar caramelize cleanly without melting the custard too quickly.
- Brûlée the tops. Sprinkle an even, thin layer (about 1 teaspoon) of superfine sugar over each custard pool. Using a kitchen torch, sweep the flame in small circles 2–3 inches above the surface until the sugar melts and turns deep amber. Let set 2–3 minutes before serving so the shell hardens.
- No torch? Arrange the chilled, filled cookies on a cold sheet pan and place under a preheated broiler on the top rack. Watch closely and rotate the pan as needed until the sugar caramelizes, 30–90 seconds. Keep the cookies moving and do not walk away.
- Serve. Add a tiny pinch of flaky sea salt if you like. These are best enjoyed within a few hours for maximum crackle. Listen for that satisfying snap as you bite in.
Timing & Preparation Details
- Custard prep: 15 minutes active, plus 2 hours chilling.
- Dough prep: 15 minutes active, 30–45 minutes chilling.
- Baking: 10–12 minutes per batch (2 batches likely).
- Assembly and brûlée: 15–20 minutes, plus 2–3 minutes to set.
- Total time: About 3–3.5 hours including chilling, with much of it inactive.
The cookies are ready to enjoy as soon as the caramelized sugar hardens on top. For the best texture, brûlée just before serving. If preparing ahead, keep filled cookies chilled and add the sugar crust at the last minute.
Tips to Help You Nail It
- Use vanilla bean paste or a real pod. Those tiny seeds and nuanced flavor are worth it in a dessert that celebrates vanilla.
- Chill the custard completely. Cold pastry cream resists melting and gives you a neat, glossy brûlée top.
- Superfine sugar caramelizes best. If you only have granulated, pulse it briefly in a food processor.
- Keep the torch moving. Hover 2–3 inches above the sugar and sweep in circles. Stationary heat can scorch quickly.
- Bake until just set. Slightly underbaked centers yield a soft, tender bite that complements the custard.
- Press the wells twice if needed. A second gentle press right after baking makes a perfect cup for the filling.
- Strain the custard. This catches any overcooked bits and ensures a satin-smooth finish.
- Plan for assembly. Fill and chill before brûlée so the sugar sets into a crisp shell instead of dissolving.
Nutritional Snapshot
Approximate per cookie, based on 16 cookies from the batch:
| Calories | ~320 |
| Protein | ~3 g |
| Carbohydrates | ~36 g |
| Total Fat | ~17 g |
| Saturated Fat | ~10 g |
| Sugars | ~22 g |
| Fiber | ~0.5 g |
| Sodium | ~140 mg |
| Cholesterol | ~105 mg |
These values are estimates and will vary based on exact ingredients and cookie size.
Frequently Asked Questions
Can I make these without a kitchen torch?
Yes. Chill the filled cookies well, then broil on the top oven rack with a thin, even layer of sugar. Watch closely and rotate the pan for even browning. The broiler method works best with well-chilled cookies and a cold baking sheet.
How far in advance can I prepare them?
Make the pastry cream up to 3 days ahead and store refrigerated with plastic wrap pressed directly on the surface. Bake the cookies 1–2 days ahead and keep airtight. Fill up to 6 hours before serving, refrigerate, and brûlée just before bringing them to the table for the crispiest top.
What’s the best way to store leftovers?
Filled and brûléed cookies are best the day they’re made because the sugar top softens in the fridge. If you have leftovers, refrigerate in a single layer and enjoy within 24 hours. For best texture, store components separately and assemble fresh.
Final Thoughts
Crème Brûlée Cookies bring a little ceremony to everyday baking, with that magical crack of caramel giving way to cool, creamy vanilla and a soft, buttery base. They’re the kind of treat that draws people to the kitchen, sparks conversation, and feels celebratory even on a quiet night in. With a few simple steps and a handful of pantry staples, you can create a dessert that’s elegant, playful, and absolutely memorable.
Share them warm from the torch, listen for the first delighted crack, and enjoy the moment—because that’s what great baking is all about.