Red Velvet Muffins Recipe: Moist, Easy & Bakery-Style Treats
Why These Red Velvet Muffins Win Hearts
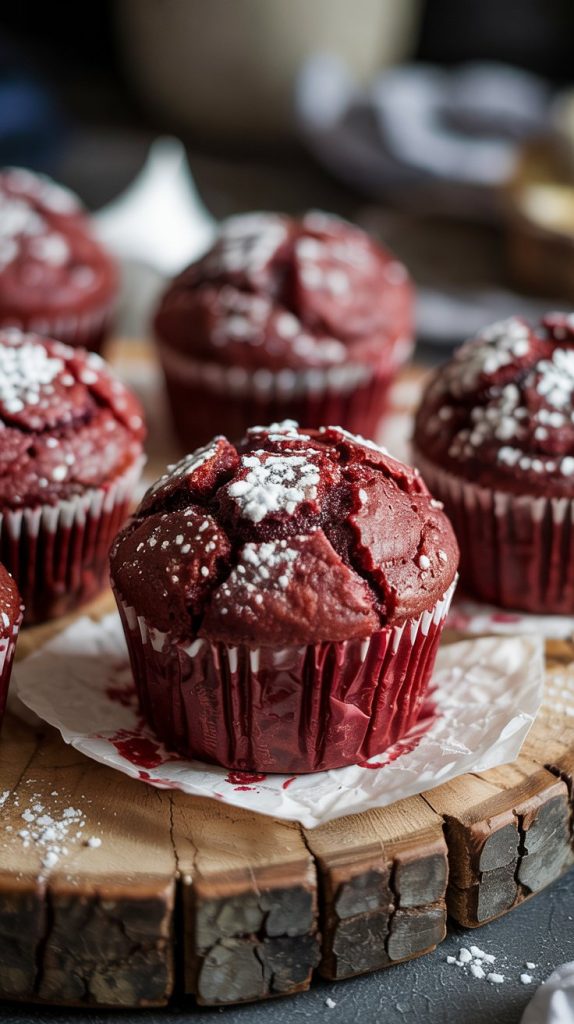
Red velvet is more than just a pretty color. It’s a flavor profile—soft cocoa notes, a touch of vanilla, and a whisper of tang—that creates a memorable muffin that feels a little special. These muffins rise tall for that classic bakery look, stay plush and moist thanks to buttermilk and oil, and can be dressed up or down depending on your mood. Bake them as-is for a simple, elegant treat or fold in chocolate chips for an extra dose of coziness. Either way, they’re incredibly inviting and surprisingly easy to master.
What You’ll Need for Red Velvet Muffins
- All-purpose flour (2 cups / 240 g) — Provides structure; measuring accurately keeps muffins tender, not dense.
- Granulated sugar (1 cup / 200 g) — Sweetens and helps achieve a soft, moist crumb.
- Baking powder (2 tsp) — Lifts the batter for lovely domed tops.
- Baking soda (1/2 tsp) — Works with the acid in buttermilk and vinegar for extra rise and a balanced crumb.
- Natural cocoa powder (2 tbsp / 12–15 g) — Adds classic red velvet flavor without overpowering; stick to natural cocoa for color purity.
- Fine sea salt (1/2 tsp) — Enhances overall flavor and balances sweetness.
- Buttermilk, at room temperature (1 cup / 240 ml) — Keeps muffins moist and tender while adding a gentle tang.
- Neutral oil (1/2 cup / 120 ml) — Ensures a soft, plush texture that stays moist for days.
- Large eggs, at room temperature (2) — Bind the batter and add richness for a luxuriously soft crumb.
- Pure vanilla extract (2 tsp) — Lends warmth and rounds out the cocoa notes.
- Distilled white vinegar (1 tsp) — Activates baking soda and brightens the red hue.
- Red gel food color (1–2 tsp) or liquid food color (1 tbsp) — Provides that signature vibrant color; gel yields richer color with less liquid.
- Optional: mini chocolate chips (3/4 cup / 120 g) — A delightful add-in for chocolate lovers; sprinkle a few on top for a bakery look.
- Optional: coarse sugar (2 tbsp) — Adds sparkle and a gentle crunch on the muffin tops.
How to Make Red Velvet Muffins, Step by Step
- Preheat and prepare your pan. Heat the oven to 425°F (220°C). Line a standard 12-cup muffin tin with paper liners or lightly grease each well. That initial higher heat helps create tall, domed muffins.
- Whisk the dry ingredients. In a large bowl, whisk together the flour, sugar, baking powder, baking soda, cocoa, and salt until evenly combined and lump-free.
- Combine the wet ingredients. In a separate bowl or large measuring jug, whisk the buttermilk, oil, eggs, vanilla, vinegar, and food color until smooth. Aim for a vibrant but not overly dark red; you can adjust the color now.
- Bring the batter together. Pour the wet mixture into the dry ingredients. Use a spatula to fold the batter gently until just combined. If using chocolate chips, fold them in now. Stop mixing as soon as the flour streaks disappear.
- Let the batter rest (optional but recommended). Allow the batter to sit for 10 minutes. This short rest hydrates the flour and helps the muffins rise higher with a more tender crumb.
- Fill the muffin cups. Divide the batter evenly among the liners, filling each about 3/4 full to nearly the top. For a bakery finish, sprinkle with coarse sugar and a few extra chips.
- Start hot, then reduce heat. Bake at 425°F (220°C) for 5 minutes, then reduce the oven temperature to 375°F (190°C) without opening the door. Continue baking for 13–15 minutes, or until a toothpick inserted into the center comes out with a few moist crumbs.
- Cool and enjoy. Let the muffins cool in the pan for 5 minutes, then transfer them to a wire rack. Serve warm or at room temperature. The tops will have a delicate sheen and a tender crumb that’s best within the first 24 hours.
- Store or freeze. Store leftovers in an airtight container at room temperature for up to 2 days, or refrigerate up to 4 days. For longer storage, freeze in a single layer, then move to a freezer bag for up to 2 months. Thaw at room temperature or warm briefly.
Timing & Preparation Details
| Prep time | 15 minutes |
| Optional batter rest | 10 minutes |
| Bake time | 18–20 minutes total (5 minutes at 425°F / 220°C, then 13–15 minutes at 375°F / 190°C) |
| Cool time | 5–10 minutes in pan, then transfer to a rack |
| Total time | 40–45 minutes |
| Yield | 12 standard muffins |
| Equipment | 12-cup muffin tin, paper liners, two bowls, whisk, spatula, scoop or spoon |
When are they ready? The muffins are done when their tops spring back lightly to the touch and a toothpick comes out with just a few moist crumbs. They carry-over cook a little as they cool, so avoid overbaking for the softest texture.
Helpful Tips for Flawless Muffins
- Measure flour accurately. If you have a kitchen scale, weigh 240 g of flour. If not, fluff the flour, spoon it into the cup, and level it—don’t pack it down. This keeps the crumb light and tender.
- Room-temperature ingredients matter. Buttermilk and eggs blend more smoothly at room temp, helping the muffins rise evenly.
- Don’t overmix. Once the wet meets the dry, mix just until combined. Overmixing leads to tough muffins with tunneling.
- Use natural cocoa for color. Natural (not Dutch-process) cocoa keeps the red hue brighter and balances with the vinegar/baking soda reaction.
- Gel food color gives the best punch. Gel is more concentrated than liquid, so a little goes a long way and won’t thin your batter.
- Rest the batter. A 10-minute rest allows the flour to hydrate, which improves the rise and texture. It also helps prevent peaked tops from overactive leavening.
- High-then-low oven trick. The blast of heat at 425°F encourages quick lift for domed tops, and the reduced temperature ensures the centers bake through without drying.
- Buttermilk substitute: Mix 1 cup (240 ml) milk with 1 tbsp lemon juice or white vinegar; let stand 5 minutes. Or use 3/4 cup (180 ml) plain yogurt thinned with 1/4 cup (60 ml) milk.
- Make them your own. Fold in chocolate chips, white chocolate chunks, or chopped nuts. You can also add a simple cream cheese swirl (details below in FAQs).
- Storage tip. To keep the tops from getting sticky, line your storage container with a paper towel and leave a small corner slightly ajar for minimal airflow.
A Quick Nutritional Snapshot
These numbers are approximate and will vary based on brands and optional add-ins. The estimates below are for one standard muffin without chocolate chips or frosting.
- Calories: ~270
- Total fat: ~11 g
- Saturated fat: ~2 g
- Carbohydrates: ~37 g
- Sugars: ~18 g
- Fiber: ~1 g
- Protein: ~4 g
- Sodium: ~260 mg
Note: Adding chocolate chips or a cream cheese swirl will increase calories and fat slightly, but also boosts satisfaction and indulgence—worth it for a special occasion.
Frequently Asked Questions
Can I make these without buttermilk?
Yes. Stir 1 tablespoon of lemon juice or white vinegar into 1 cup (240 ml) of milk, then let it sit for 5 minutes before using. Alternatively, use 3/4 cup (180 ml) plain yogurt thinned with 1/4 cup (60 ml) milk for a similar tang and texture.
How do I get a vibrant red color without using too much dye?
Use gel food color instead of liquid—it’s more concentrated, so you’ll need less. Keep the cocoa modest (2 tablespoons) to avoid dulling the red. For a natural route, you can try a beetroot powder designed for baking, though the shade may be more muted and earthy.
Can I add a cream cheese swirl or topping?
Absolutely. For a swirl, beat 4 oz (113 g) softened cream cheese with 2 tablespoons sugar and 1 teaspoon vanilla until smooth; drop small dollops onto each filled muffin cup and gently swirl with a toothpick. For a quick topping, mix 4 oz cream cheese with 2 tablespoons powdered sugar and a touch of vanilla, then pipe onto cooled muffins.
Parting Thoughts
Baking a batch of Red Velvet Muffins feels like a small celebration: cheerful color, cozy aroma, and a bite that’s soft, moist, and quietly luxurious. Whether you’re sharing them at brunch, packing them for a picnic, or treating yourself on a slow morning, these muffins have a way of making the moment feel special. I hope this recipe gives you all the confidence you need to create those tall domes, tender crumbs, and smiling faces. Enjoy every step, and don’t be surprised when you’re asked to make them again and again.